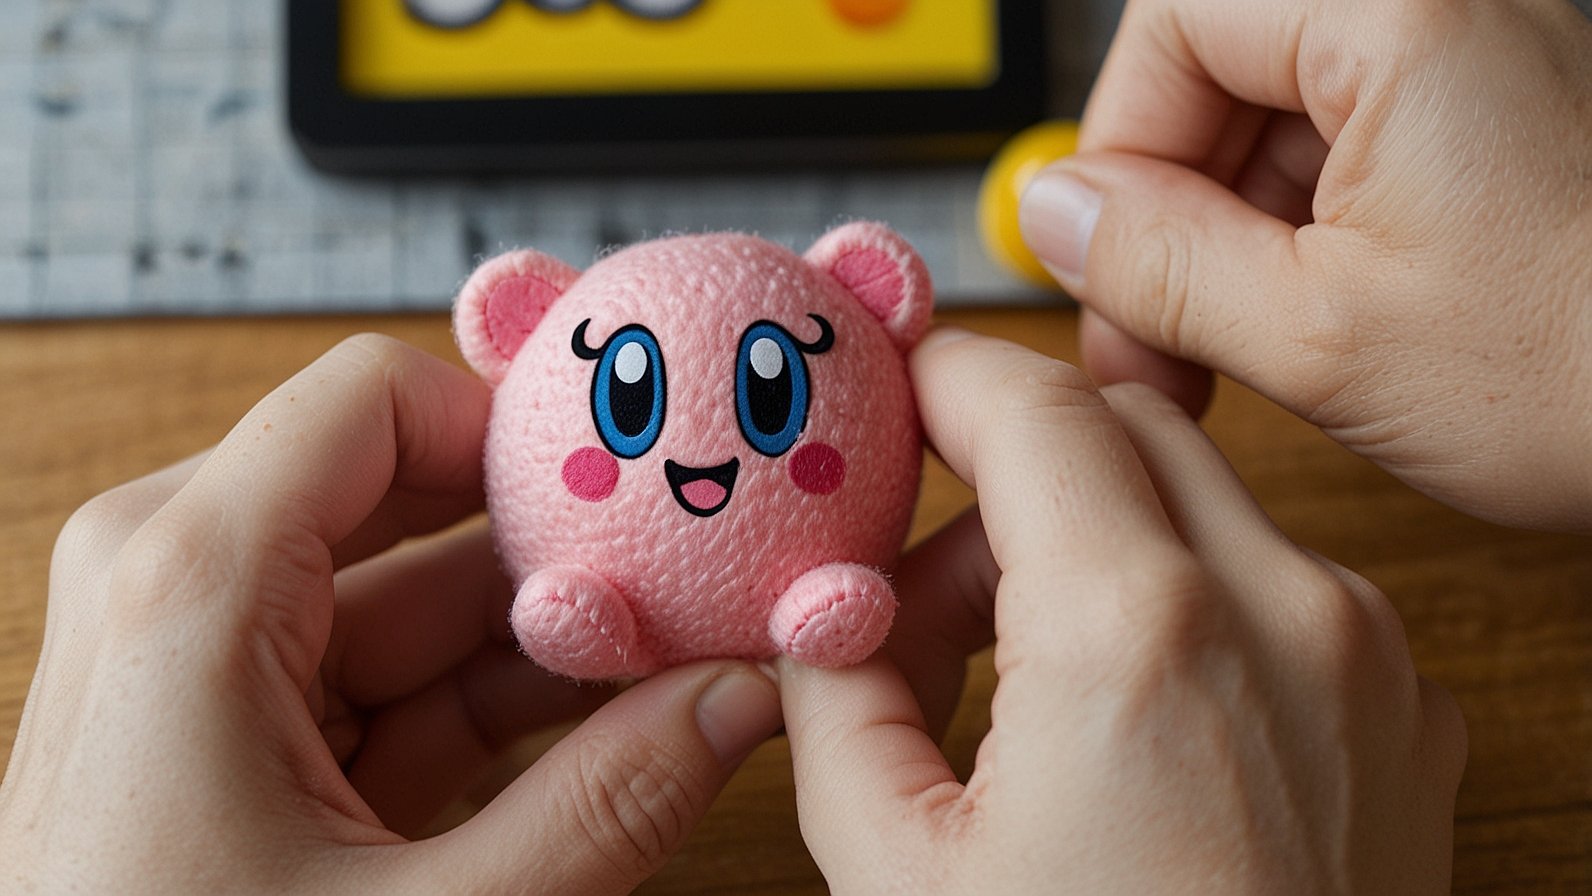
If you’re a fan of video games, chances are you’ve met Kirby—Nintendo’s adorable pink hero known for his ability to inhale enemies and absorb their powers. But have you ever thought about bringing this beloved character into your daily life in a fun and creative way? Enter the Kirby Dedo finger puppet! This charming little creation not only celebrates your love for Kirby but also adds a playful touch to storytelling or playtime.
Imagine slipping on a tiny, handcrafted version of Kirby that fits right on your fingertip. Whether it’s entertaining kids or adding some whimsy to adult activities, crafting your own Kirby Dedo can be an enjoyable project for all ages. Dive into this step-by-step guide to learn how to bring this delightful finger puppet to life using simple materials and techniques. Get ready to unleash your creativity as we embark on this colorful crafting adventure!
To create your very own Kirby Dedo finger puppet, you’ll need a few essential materials. Start with pink felt or fabric. This will form the main body of your puppet.
Next, grab some white and black felt for those iconic eyes. These details will really bring Kirby to life.
You’ll also need scissors for cutting out shapes and a hot glue gun to secure everything together. The glue is crucial for keeping all parts intact as you construct your masterpiece.
Don’t forget about some small embellishments like glitter or sequins if you want to add extra flair!
Have a paintbrush and non-toxic paint handy if you’re looking to give your puppet that perfect finishing touch. With these supplies gathered, you’re ready to dive into crafting fun!
To start crafting your Kirby Dedo finger puppet, gather the basic materials. You’ll need a small piece of felt or soft fabric in pink for Kirby’s body. This will serve as the foundation for your puppet.
Begin by cutting out an oval shape from the material. Aim for proportions that fit comfortably over your finger while still allowing some room to maneuver it like a real puppet.
Next, fold and stitch or glue the sides together to form a pocket. Ensure it’s snug enough to stay on your finger but loose enough so you can easily pull it off when needed.
This base is vital as it sets up the character’s iconic round shape. A well-constructed base makes adding details much easier later on!
Once your base is ready, it’s time to add some personality. Start by creating Kirby’s signature facial features. Use small pieces of felt or fabric for his eyes and mouth.
For the eyes, cut out two oval shapes from black felt. You can add a white dot in each to give them that sparkling look. Position these on the puppet where they pop.
Next, craft Kirby’s iconic blush marks using pink paint or markers. Just a light dab will do—too much can overwhelm the cute factor.
Don’t forget about his arms! Using extra bits of yarn or felt, create tiny limbs that stick out from either side of your finger puppet. They’re essential for capturing Kirby’s playful spirit.
With all these details added, your Dedo Finger Puppet will start resembling our favorite pink hero more closely than ever before!
Once you’ve shaped your Kirby Dedo puppet, it’s time to bring it to life with color. Grab your acrylic paints in shades of pink, blue, and yellow—these are essential for capturing that adorable Kirby vibe.
Start by painting the body a soft pink. Use gentle brush strokes for an even coat. Allow it to dry completely; this will set the stage for adding details.
Next, focus on those classic features. For Kirby’s eyes, use black paint with a hint of white to create a glossy effect. This adds personality and charm.
Don’t forget the blush! A light touch of rosy paint on the cheeks gives your puppet that signature cuteness factor.
If you’re feeling extra creative, consider adding tiny stars or sparkles around him using gold or silver glitter glue once everything is dry—not only does this add flair but also captures Kirby’s whimsical world perfectly!
To achieve the best Kirby Dedo, focus on proportions. Kirby’s cute features shine when they are well-balanced. Pay attention to the shape of his body and roundness of his cheeks.
Use high-quality materials for a smoother finish. Felt or soft fabric works wonders. They give your puppet that plush look everyone loves.
When adding details, take your time with stitching. Neat lines will enhance the overall appearance. Consider using contrasting thread colors for added effect.
Don’t rush the painting process either! Layering paint can create depth and texture, making your puppet come alive.
Let everything dry completely before playing with it. This ensures durability and keeps all those tiny parts intact while you enjoy your new creation!
Creating a Kirby Dedo finger puppet is not just a fun craft project; it’s an opportunity to unleash your creativity. By following the steps outlined, you can make your very own adorable Kirby that fits perfectly on your finger.
Each step allows for personal touches and variations, so feel free to experiment with colors and designs. Whether you’re making it for yourself or as a gift, this simple DIY puppet will surely bring joy. Enjoy the process and let your imagination run wild! Happy crafting!
You May Also Read: readmymanga com: The Ultimate Reader’s Guide to the Manga Aggregator